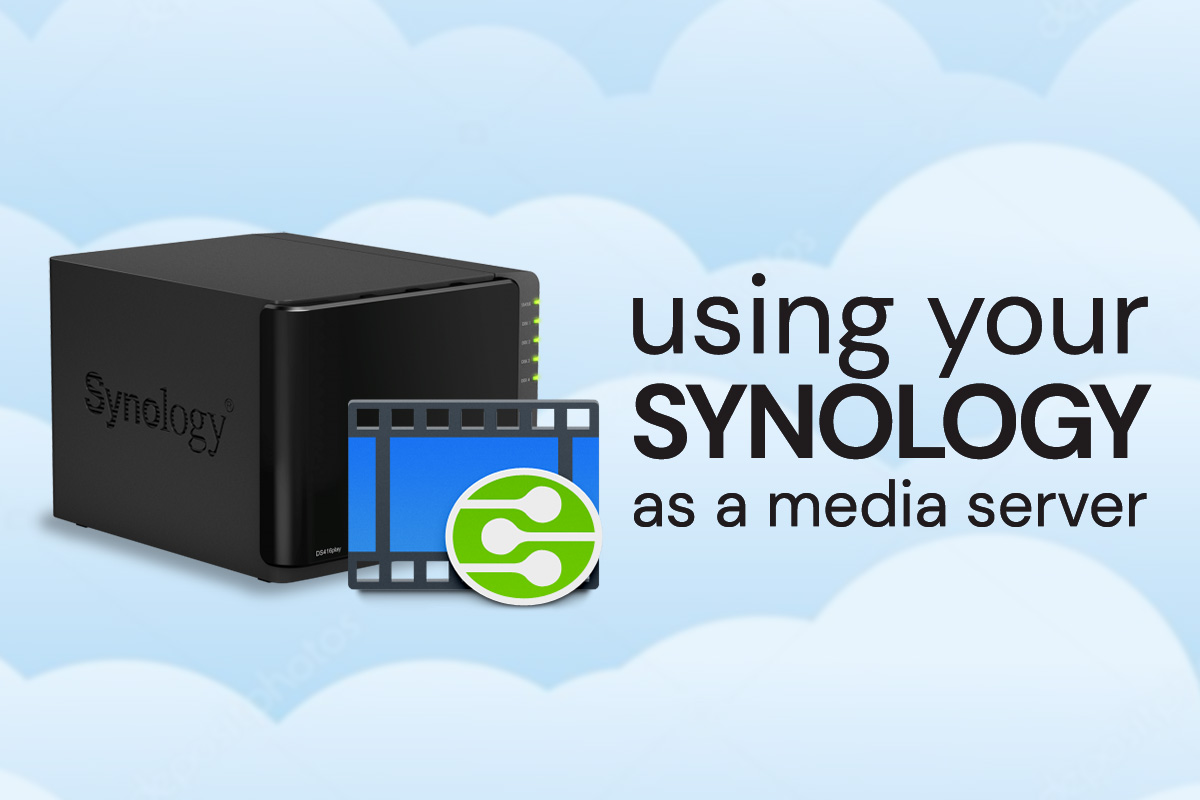
Last month, we wrote about setting up a Synology for backing up all your devices at home. This week, we’ll explore another of its most entertaining uses—as a home media server. A media server is simply any device that can be used to store or share media, including audio, photos, video, and books, via a network. This definition perfectly matches a Synology, which is a Network-Attached Storage (NAS) device that can be used to hold and broadcast these types of files. The only problem? Synology’s instructions for doing so are so incredibly boring and obscure that they’re useless to most people. So—here we are.
Assumptions for Setting up Your Synology Media Server
First, we’re assuming that you have a Synology that is connected via ethernet cable to your router/LAN (Local Area Network).
Second, we’re assuming you have a DLNA device with such as Sony PS4, Xbox One, Sonos, Bose, Smart TV, etc. DLNA stands for Digital Living Network Alliance and it’s just a certification system. As long as devices are certified DLNA, they can communicate with each other. Most mainstream devices are DLNA compliant.
Step 1: Setting up Your Synology
Go to the Package Center on your Synology and download the app called “Media Server.”
Next, upload your media files to your Synology. We advise that you put them in separate folders like “Movies,” “TV,” “Photos,” etc.
Open the Media Server app, and point it to those directories. The Media Server app will automatically scan the Synology for media files, but this is still a good idea to help keep you organized.
Check that you have installed the latest codec pack and that you have enabled “UPnP” on the Synology. UPnP stands for “Universal Plug ’n’ Play,” which is a standard that allows a wide range of devices to be connected, including both wireless and wired. Beyond this step, you won’t ever really need to know this information ever again.
Step 2: Set up Your Media Playback Device
Check that you have enabled UPnP on your media playback device. Some devices, such as the PS3, will have it disabled by default.
For most DLNA devices, you’ll be able to select a setting and then select your Synology from the list. Once you have your Synology selected, you can view photos, listen to music, and play movies. If you’re not sure where to find the setting you need, the Synology Knowledgebase has a list of popular devices and instructions for finding it. Scroll down to the section that says “To access the media files stored on your Synology.”
Note: some older media playback devices may have issues playing certain formats, especially .mkv files—often because they are associated with piracy. In the event that you have trouble with these media formats, try converting the file(s) to a more compatible format.
Some people might recommend using Plex or Kodi to set up your server, but the Media Server app is native to Synology and it doesn’t cost anything. Give it a shot!


